Do you remember the excitement you’d feel when you had a sub in elementary school? They always did things a little differently, and perhaps you’d get a chance to do something really unique and different.
Once, I had a sub who loved to do art projects. She taught us how to make scratch paintings. I loved it from the first time I did it, and when I showed my own kids how to make them, they loved it too.
How to Make a DIY Scratch Art Painting
Materials Needed:
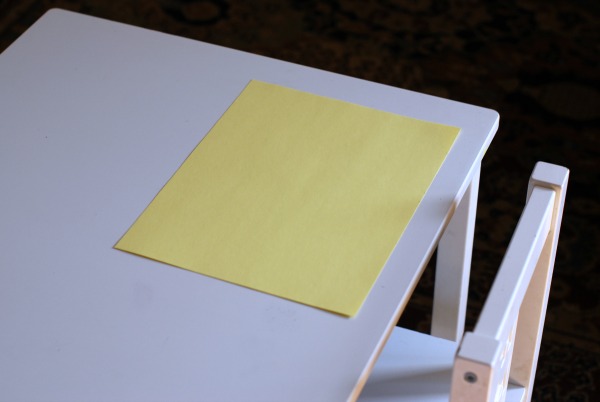
card stock
crayons
black tempera paint
toothpick, chopstick or small wooden dowel
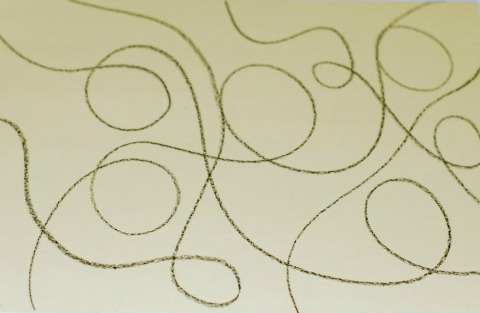
1. Take the card stock and make a pattern using a black crayon. You can make a grid, or waves or make big swirls (my favorite way).
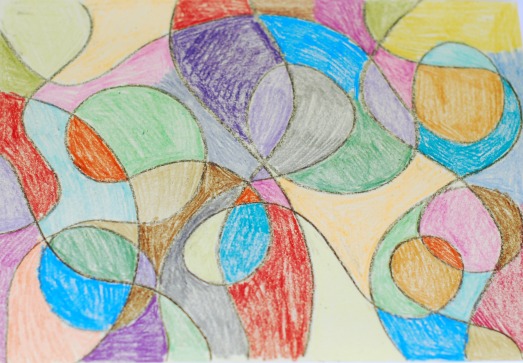
2. Color in every block using different colors
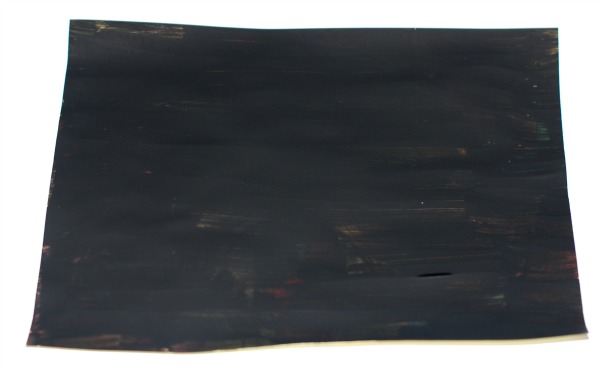
3. Once the whole picture has been colored in, then cover the paper in black tempera paint. It may take more than one layer to completely cover it up. None of the original colors should be visible.
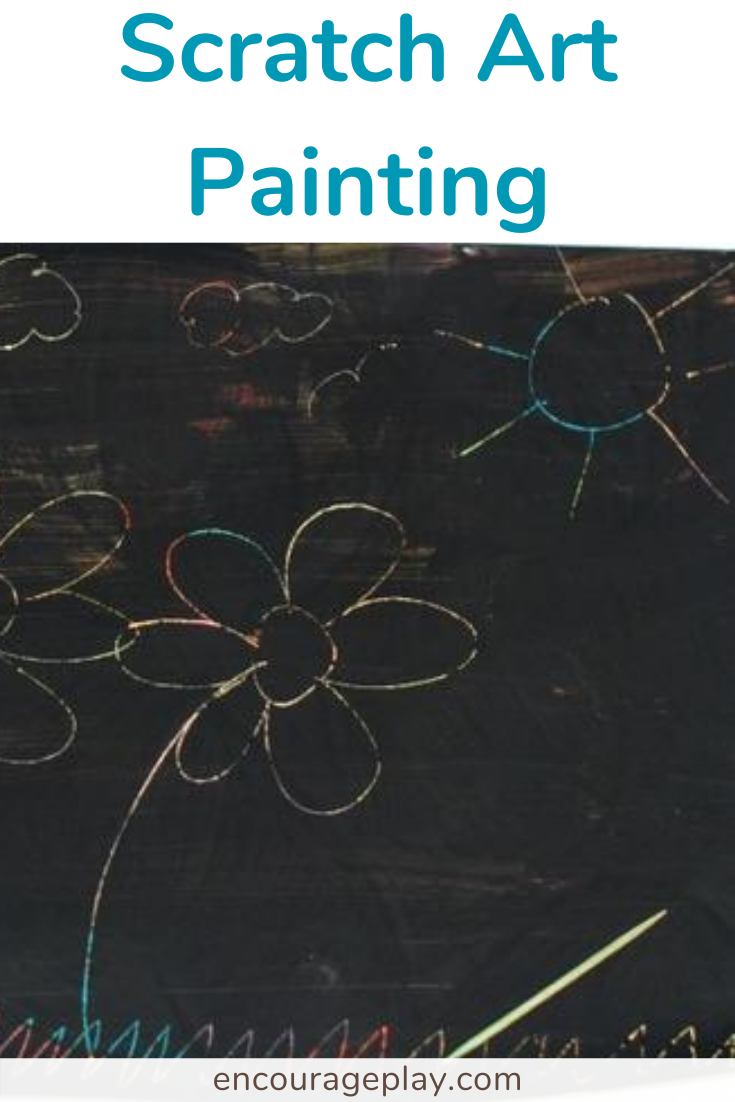
4. After it’s dry, take a chopstick or toothpick and create a picture by scratching off the layer of tempera paint. Underneath, you’ll see the colors you originally created.
Social Skills & Play Connection
This is a project that requires patience (waiting for the paint to dry!!) and following directions. It’s a playful way to work on these social skills! It’s also an open ended project so kids can have some practice being creative too.
Have you ever made a scratch drawing? I’d love to see it! Post a picture of your scratch painting on our Facebook wall!!